Create a new FluentCI Project
Get the example application
The example application is a simple React application that displays a "Hello from FluentCI!" welcome page. Clone the repository using the following command:
git clone https://github.com/fluentci-io/hello-fluentci
cd hello-fluentci
Initialize a FluentCI project using the init command
To initialize a FluentCI project, run the following command:
fluentci init -t bun --wasm
This will create a .fluentci directory in your project. The --wasm flag is used to enable WebAssembly (Wasm) support in the pipeline. Feel free to customize the pipeline for your needs.
Initialize a FluentCI project using fluentci studio
You can also use the fluentci studio command to initialize a project. This command will guide you through the process of setting up a FluentCI project.
fluentci studio

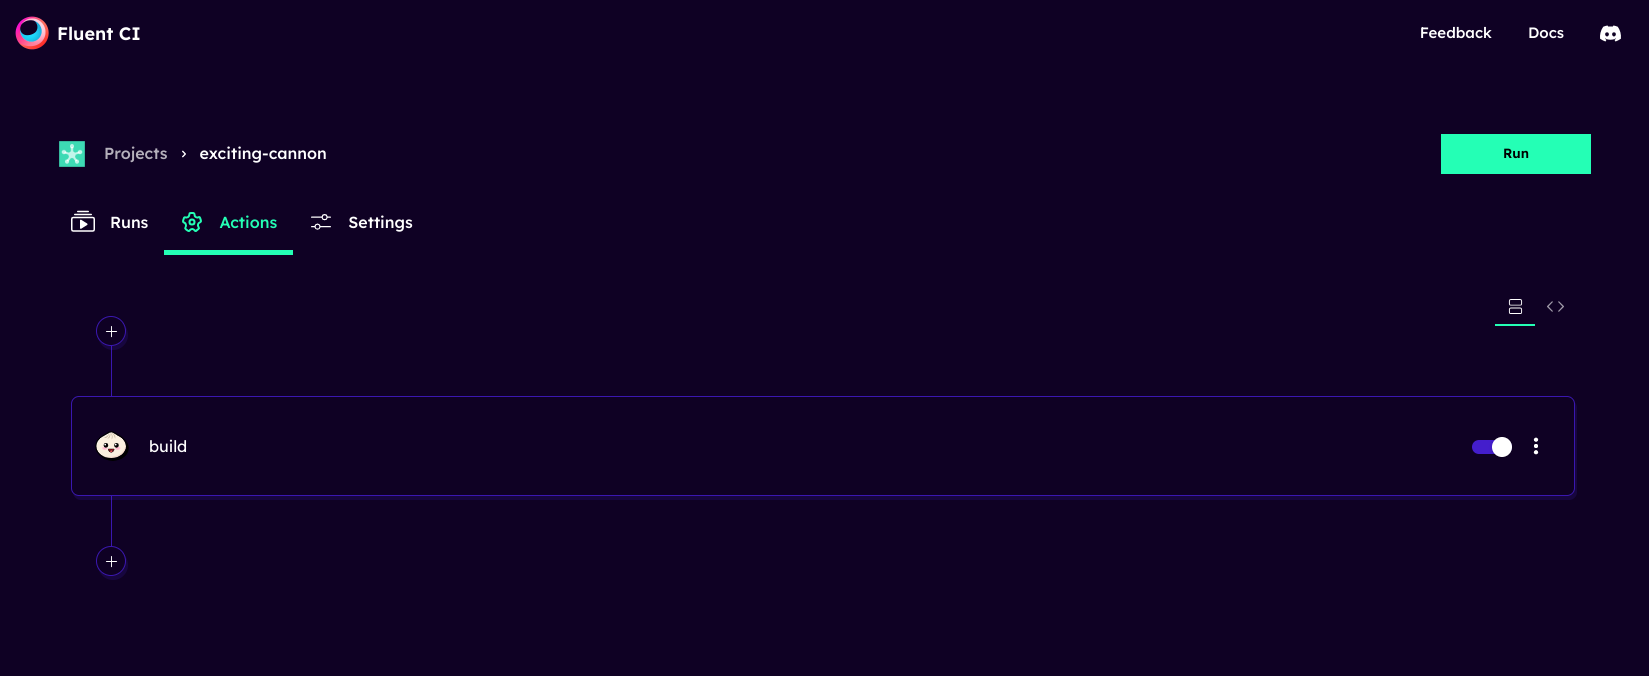
This will start the FluentCI Studio on http://locahost:6076, where you can select the template you want to use for your project and customize it as needed.
Run the pipeline
You can run the pipeline using the following command:
fluentci run . run build
fluentci run . bunx serve dist
Or by clicking the "Run" button in the FluentCI Studio.
This will build the project and serve the output using the Bunx server. Note that you don't need to pre-install any dependencies, as FluentCI will automatically install them for you.